Monday, July 21, 2014

Convention 2014 - Clip Roommate Gift

At convention we are give a booklet to take notes that also has a general schedule, map and such.  This little gift helps hold where you are currently working!  Super Simple and fun!


Supplies:
Card Stock - Blackberry Bliss, Moonlight DS Paper Pack
Ink - Daffodil Delight Blendabilities
Accessories - jumbo paper clip, Basic Rhinestones, Sticky Strip, Dimensionals, 1-1/4" Scallop Circle Punch, 1-3/8" Scallop Circle Punch

Sunday, July 20, 2014

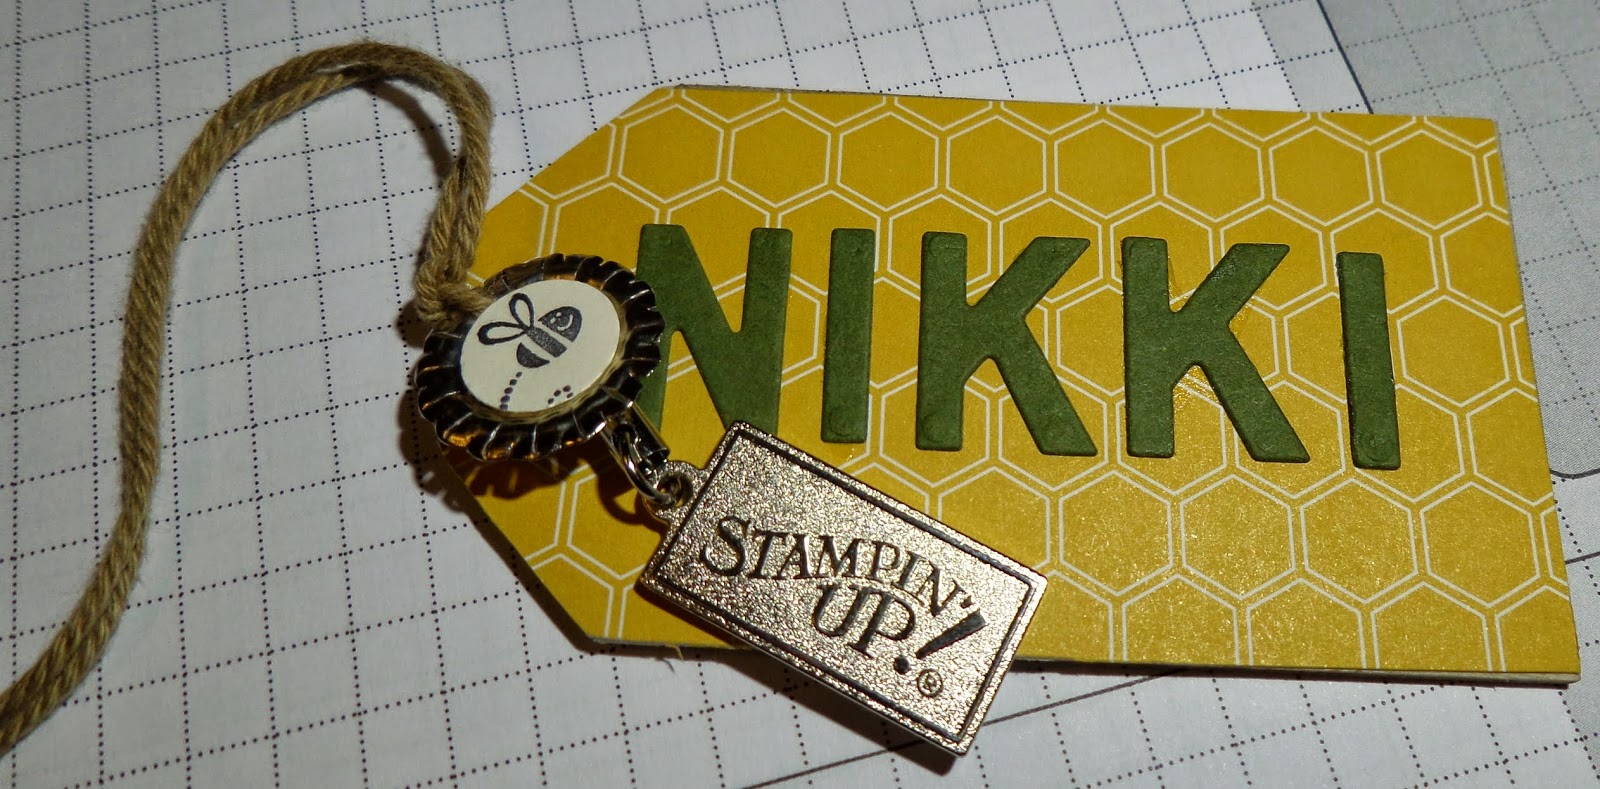
Convention 2014 - Bag Tag Roommate Gift

At convention, everyone gets the same bag so it is important to identify which is yours.  I made these this year to put on our bags.

The base is a wooden tag I found at the craft store.  I covered it with Moonlight DS Paper Pack, added our names with Little Letter Thinlits, and decorated with trinkets I had around my desk!


Supplies:
Stamp Set(s) - Honeycomb Hello
Card Stock - Moonlight DS Paper Pack, Hello Honey, Blackberry Bliss, Mossy Meadow
Ink - Basic Black
Accessories - Baked Brown Sugar Thick Bakers Twine, 1/4" Circle Punch, Big Shot, Little Letter Thinlits, Sticky Strip, Multi-Purpose Glue, random trinkets, wood tag

Saturday, July 19, 2014

Convention 2014 - Water Bottle Tag Roommate Gift

As I am from southern Florida, Salt Lake City is very dry to my body and am constantly having to hydrate and lotion up.  If I am not constantly drinking water and applying chapstick I am hurting!  I found something like this on Pinterest.  I thought this would be perfect!  The water bottle I found at target.  It is perfect as it opens at top to drink but opens lower for cleaning and adding ice.


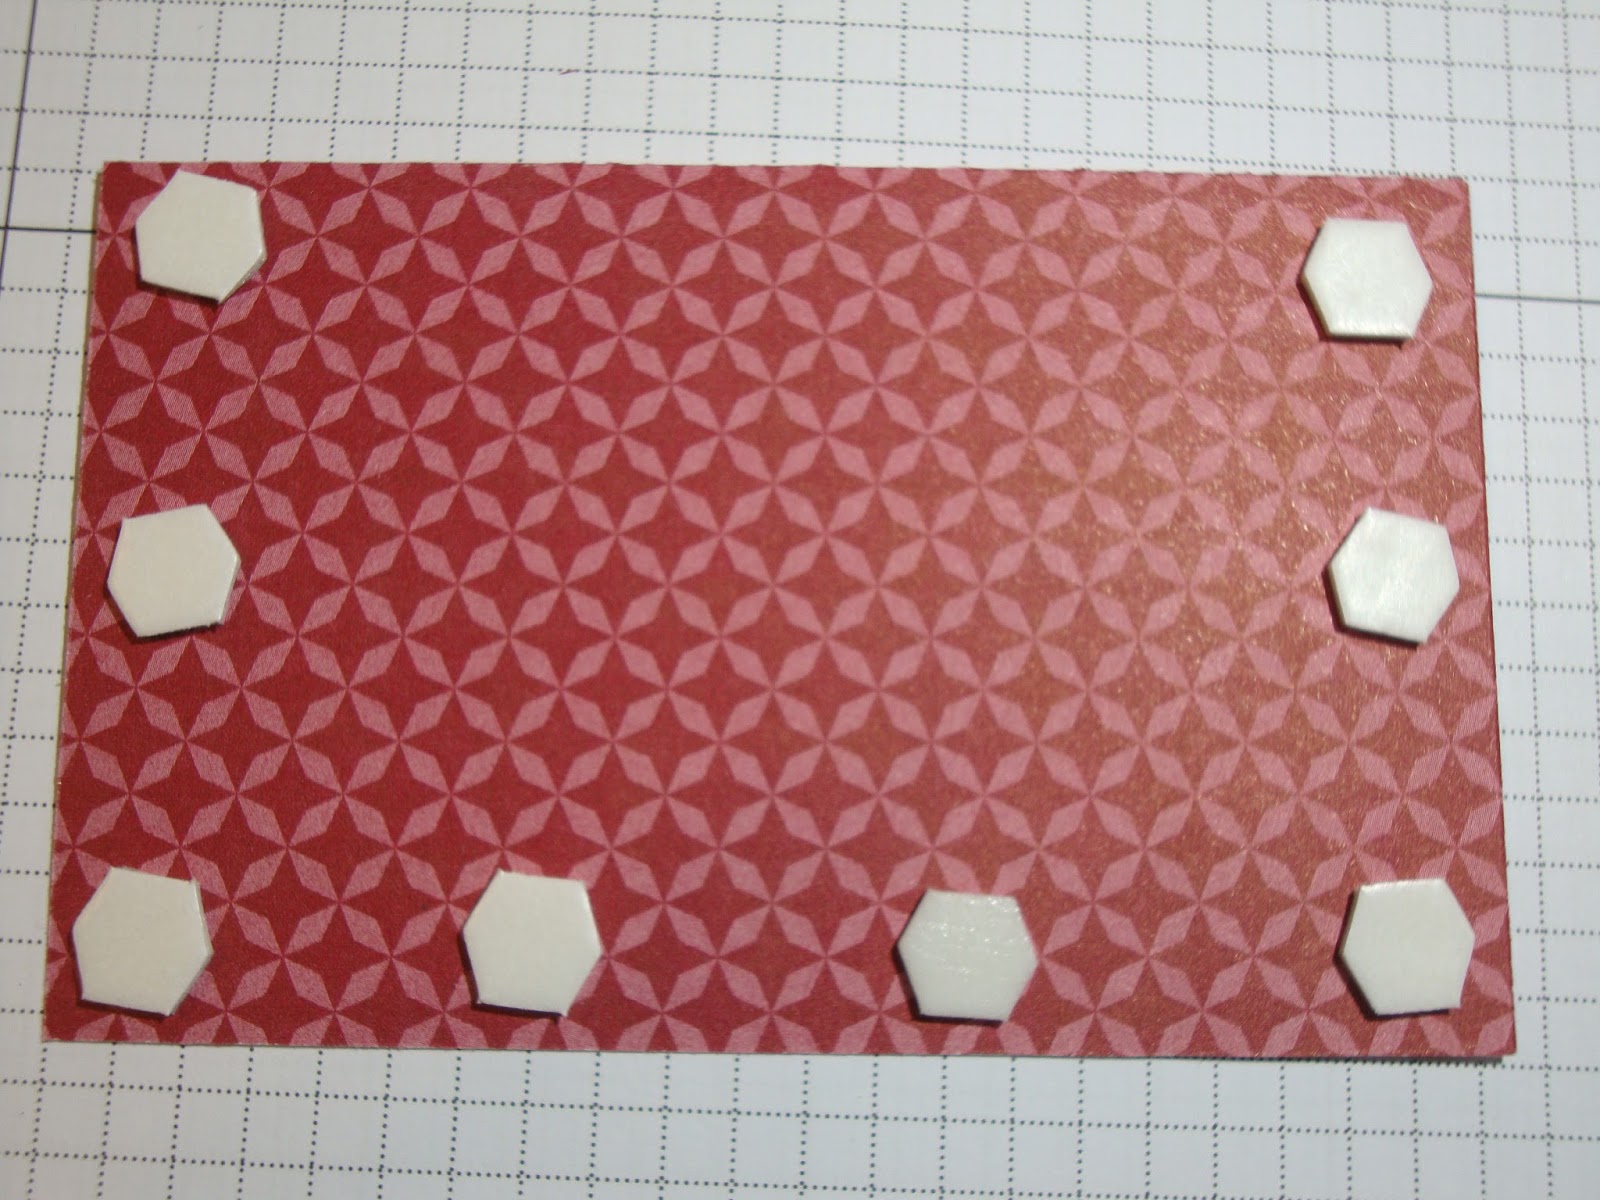
The tag is 4" x 10" (or however long your bottle is) and scored at 2-1/2".  The designer paper is 3" x 4".  Adhere it with Sticky Strip on three sides to make a pocket.  Find the circle punch that goes over the bottle top, in my case it was the 1-3/8" Circle Punch.  Then decorate however you would like.  In the pocket I put a Starbucks gift card and a Crystal Light single serving packet.


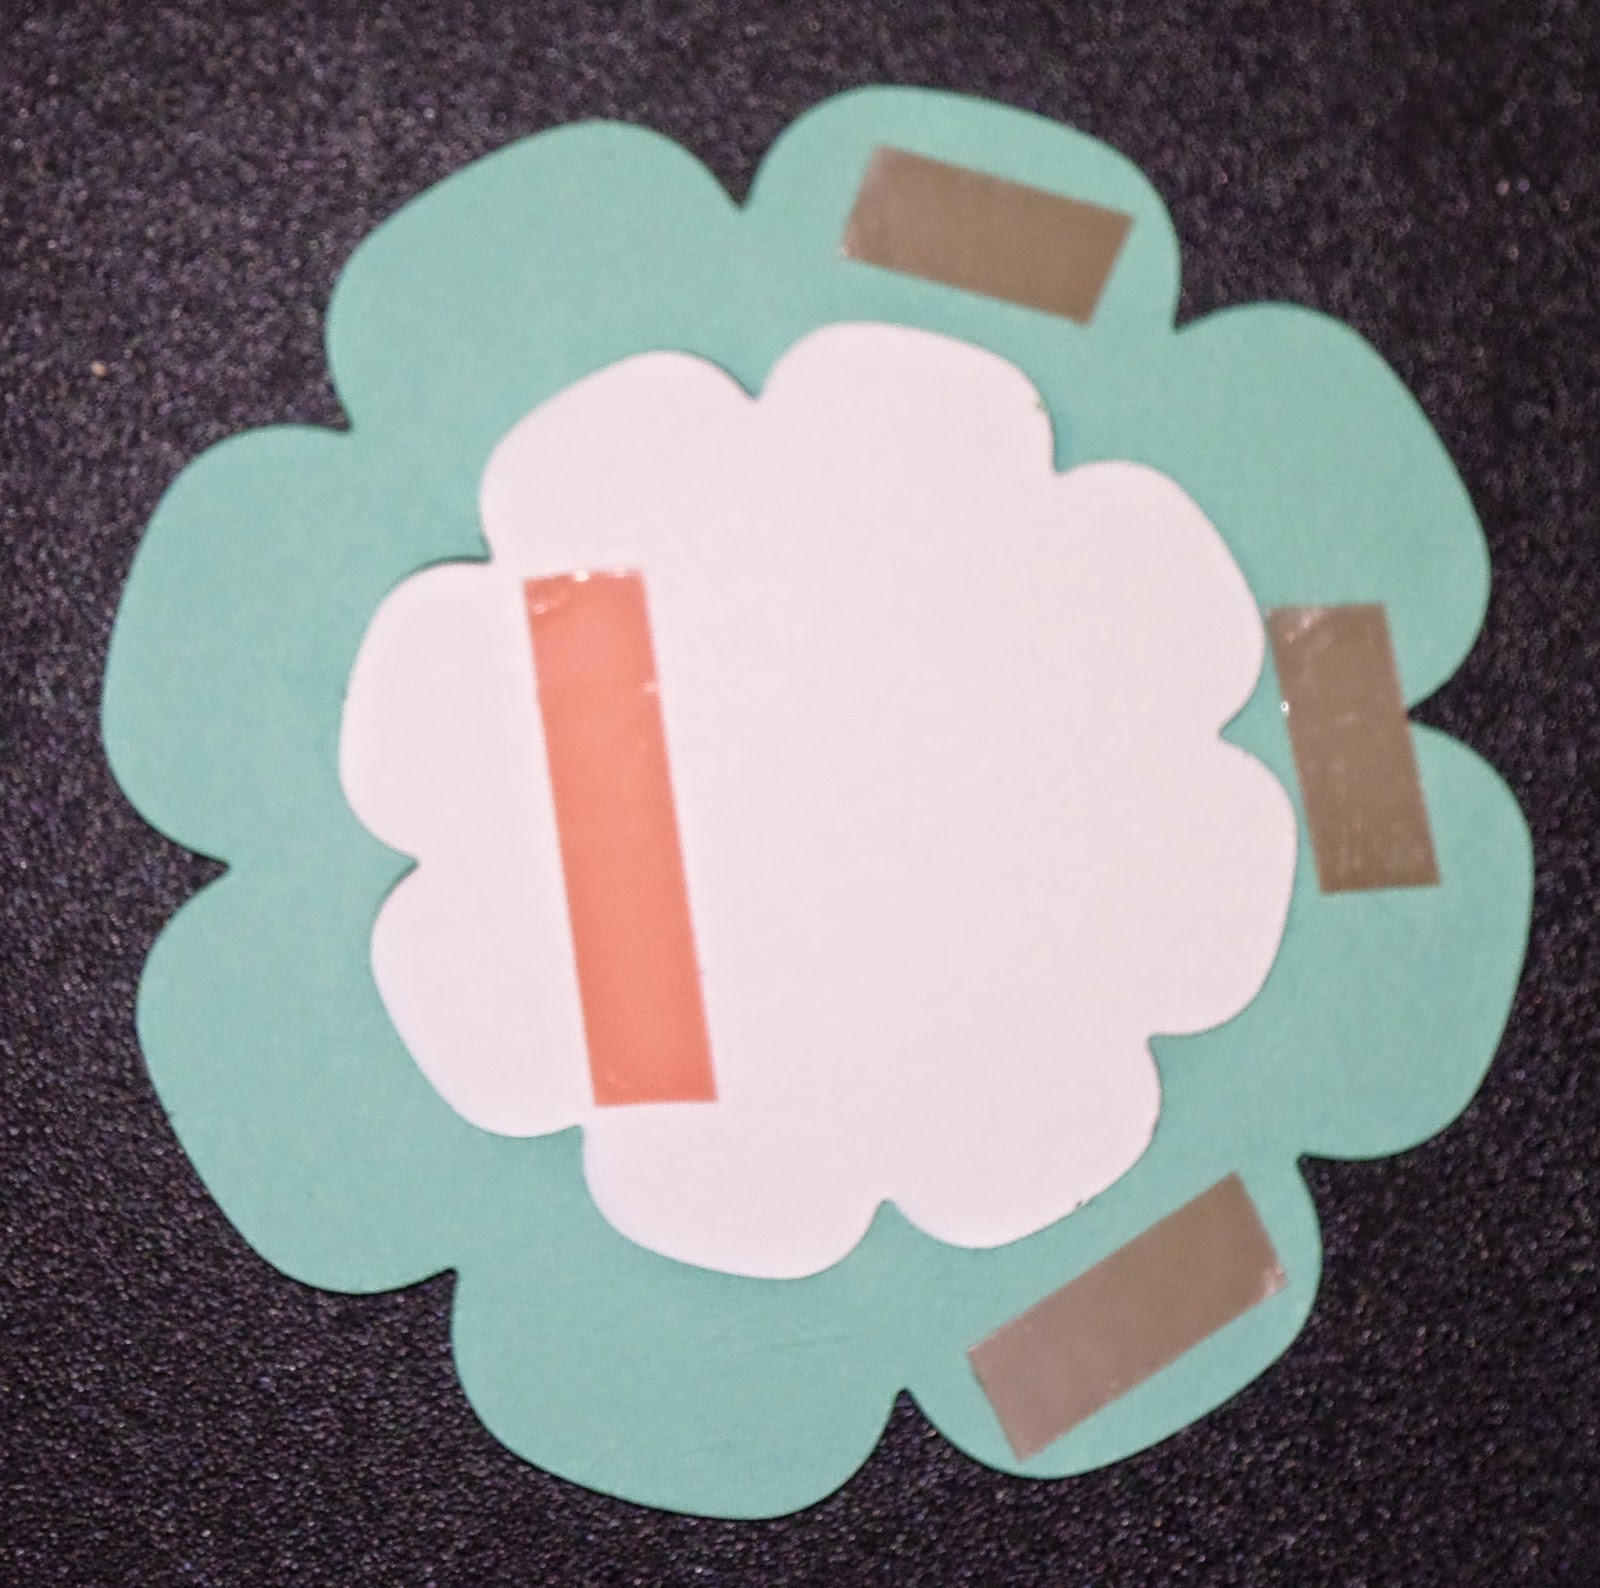
The flower is Blossom Punch, 1-3/4" Scallop Circle Punch, and Boho Blossom Punch.  I crinkled up each one before adhering it with Glue Dots.


Supplies:
Card Stock - Blackberry Bliss, Hello Honey, Moonlight DS Paper Pack
Accessories - Chevron Border Punch, 1-3/4" Scallop Circle Punch, Boho Blossoms Punch, Blossom Punch, Glue Dots, Sticky Strip

Friday, July 18, 2014

Convention 2014 - Envelope Box Roommate Gift

I always give my roommates one of each of the swaps I made.  This year I made this box for them to go in along with a few other goodies I will show you in the next couple of days.


It is super easy to make!  Cut an 11" square.  Score two sides at 3-1/2 and 5-1/2 and the other two sides at 4-1/2 and 6-1/2.  Cut out the little triangles and cut the flaps on the side nearest the long side.  And that's it!  Use Sticky Strip to adhere the box together and the decorate however you would like.


Supplies:
Card Stock - Night if Navy, Retired DS
Accessories - Retire Ribbon, Glue Dots, Sticky Strip, Basic Metal Buttons

Wednesday, July 16, 2014

Convention 2014 - General Swap 1

A couple of my customers did a card like this and I just loved it and had to do for convention!  There are so many dies and framelits that can be used in a layout like this too.


First, fold your card in a tri-fold style.


Die cut your shapes you want to use.  Here I used Floral Frames.  I stamped the smallest with a design from the coordinating set Daydream Medallions.  The largest flower is die cut twice, outside and the center.  The middle size needs to fit inside the large size or this wont work.


I adhered the smallest to the middle.  This is just decoration.


I put the two sizes together and put Sticky Strip on one side of the large and the opposite side of the medium.


To add décor to the card, I stamped two strips with Daydream Medallions.


And adhered them to the outside of the folds.


Adhere the flowers, first the large to one side.  While closed adhere the medium to the other side by placing it in the middle of the large to make sure they are lined up.  This way the medium will slide into the large when it closes and separates when opened!


Supplies:
Stamp Set(s) - Daydream Medallions
Card Stock - Coastal Cabana, Whisper White
Ink - Coastal Cabana, Pool Party, Bermuda Bay, Island Indigo
Accessories - Big Shot, Floral Frames

Tuesday, July 15, 2014

Convention 2014 - Awesome Christmas Cards Swap

I love Christmas time and Christmas cards so I always look for a swap like this to help with great ideas!

I saw something similar to this online and realized how easy it would be to use Work of Art to make a wreath!  so I set to work.  Here is the finished product.


First punch out a 1-3/8" circle from some scrap cardstock.


I adhered it to my base with some removable adhesive.


This is the stamp from the Work of Art set I used.  I also used the new Mossy Meadow as by green.  Love it!


I then began repeatedly stamping the image in a ring.  The circle masks the center.


Here is what it looked like when I was done.


Remove the circle and the glue.


I added Rhinestones that I had colored with the Cherry Cobbler Blendabilities for berries.  They came out great!


I layered it with Cherry Cobbler and Mossy Meadow and added a saying.


I had fun with the bow.  I just looped a piece of 1/8" Silver Ribbon three times back and forth, leaving a long end on each side.  I then tied a small piece around the middle to hold it in place.


Supplies:
Stamp Set(s) - Work of Art, More Merry Messages (retiring in August!)
Card Stock - Mossy Meadow, Cherry Cobbler
Ink - Mossy Meadow, Cherry Cobbler, Whisper White
Accessories - Cherry Cobbler Blendabilities, Basic Rhinestones, 1/8" Silver Ribbon

Monday, July 14, 2014

Convention 2014 - Swap In Your Jammies

It's that time of year again, Convention!  I am super excited and ready to go.  I fly out to Salt Lake City Wednesday!  Over the next days I am going to post up the swaps and gifts I made for Convention.  Hope you enjoy them!

So, Stampin' Up! tells us which sets we will be given at convention so we don't purchase them before hand and have two....  I totally forgot what they were, fell in love with Kinda Eclectic and bought it.  Oh well.  I am POSITIVE you will love it too!  I am also very much in love with the new In Colors!  I have always been fond of earth colors!  So don't be surprised when these items pop up in a lot of my cards!

This card is pretty straight forward and fun.  The three Linen Thread loops are taped down.  The kindness tag hides that tape and the messy overlap of the different stamps.  This card has Linen Thread going around the belly as well but my swaps do not as I taped all the layers together and realized I have forgotten the ribbon :(  Oops!


You can see a little better here how I popped up the kindness tag with Dimensionals and I adhered the butterfly with just a single Glue Dot to the center so the wings can "fly".  I also edged the kindness tag with Lost Lagoon to help give it pop.


Supplies:
Stamp Set(s) - Kinda Eclectic
Card Stock - Whisper White, Baked Brown Sugar, Mossy Meadow.
Ink - Lost Lagoon, Hello Honey, Mossy Meadow, Based Brown Sugar, Tangelo Twist
Accessories - Big Shot, Apothecary Accents, Bitty Butterfly Punch, Linen Thread, Glue Dots, Dimensionals

Thursday, September 19, 2013

Gorgeous Flowers

This was my card for my Downline Swap.  Again, the "rules" were to use Wisteria Wonder, Pool Party, and Crushed Curry.  I am ABSOLUTELY IN LOVE with Gorgeous Grunge so I am always looking for ways to use it!


Supplies:
Stamp Set(s) - Flower Shop, Gorgeous Grunge, Lacy & Lovely
Card Stock - Pool Party, Wisteria Wonder, Whisper White
Ink - Crushed Curry, Pool Party, Wisteria Wonder
Accessories - Pansy Punch, Basic Pearls, Dimensionals

Monday, September 16, 2013

Its a Washi Christmas

This is a fast but ADORABLE Christmas card!  This was a swap from Convention.  It is pretty straight forward so I am not going to babble on and just let you enjoy!  (Sorry for the glare on the pic).


Supplies:
Stamp Set(s) - Sassy Salutations, Mosaic Madness
Card Stock - Old Olive, Whisper White, Cherry Cobbler, Seasons of Style DS
Ink - Cherry Cobbler
Accessories - Seasons of Style Washi Tape, Mosaic Punch, Curly Label Punch, Dimensionals

Thursday, September 12, 2013

Splatter Birthday

Sorry my posting has dropped off.  I started up the Fall semester with two grad course at FGCU on top of working full time.  I am starting to get into the swing of things so lets see if I can get back on track. 

This card is a swap from convention.  Sadly I don't have the creators name :(  This technique is a lot of fun but don't do too many at once our you'll pass out!  Start by point two or three drops of one color reinker in the middle of the card.  Using a straw, blow the ink toward the edge.  Repeat with three more colors!  Here are some tips: 
  • Keep the drops centered and then put a label over the mess you make (and you do make a mess :)
  • Have your cardstock bigger than what you want as a finished product and then trim down each of the four sides once dry.  Sometimes the ink pools at the end and it look a little messy, this way you cut it off!
  • Let each color have a minute to dry before starting the next color just in case you have overlap. (like I did with the Marina Mist and Calypso Coral)
  • Careful not to spit down your straw!  (yew grossness!)
  • Watch your work space, I got carried away and blew ink on another card :(
  • Have FUN!


Supplies:
Stamp Set(s) - Label Love
Card Stock - Whisper White, Calypso Coral
Ink - Calypso Coral, Wisteria Wonder, Marina Mist, Pear Pizzazz reinkers; Calypso Coral pad
Accessories - Artisan Label Punch, Dimensionals, straw

Thursday, August 22, 2013

Six-Sided Wreath

Here is the other cool design that was demonstrated in the Convention Class.  What a GREAT Christmas Card!  The first ring is done exactly like the petals of the sunflower.  The second ring is brought in a little and off set.  I just used a Cherry Cobbler marker to add the holly berries.  The Very Vanilla is mounted to the Cherry Cobbler just like the sunflower card as well.  I sponged the front of the Very Vanilla with Soft Suedy to give to a texture.  Enjoy!


Supplies:
Stamp Set(s) - Six-Sided Sampler, More Merry Messages
Card Stock - Very Vanilla, Cherry Cobbler
Ink - Gumball Green, Soft Suede, Cherry Cobbler
Accessories - Hexigon Punch, Sponge, Sponge Dauber, Dimensionals, Glue Dots, Cherry Cobbler Seam Binding

Tuesday, August 20, 2013

Six-Sided Sunflower

I am excited to show you some fun creations with the Hexigon Punch and Six-Sided Sampler set.  Today's post and the next post show you two ideas that I saw done at convention at the 5 Projects to Increase My Sales class.  So CUTE!

Love this sunflower!


I put 5 hexigons down then stamped my stem.


Then added the last hexigon to hide the top of the stem.


I was excited to see the leaves done!  First stamp and punch a hexigon.


Then, using you snips, cut two lines and it will look like this.  Then take the diamonds as your leaves!


 I love to have a dark card base but then you have to use more cardstock on the inside so you can have your saying and write a message.  Here is another way to do it.  My Whisper White was actually cut to 8" x 5" and folded in half.  Then mount it on a piece of 5-1/2" x 4-1/4" piece of Early Espresso.  Voila! A white inside card that has a dark base!  A little twist and So much fun!


Supplies:
Stamp Set(s) - Six-Sided Sampler, Too Kind
Card Stock - So Saffron, Early Espresso, Whisper White, Soft Suede
Ink - Crushed Curry, Early Espresso, Wild Wasabi
Accessories - Hexigon Punch, Snips, Dimensionals

Saturday, August 17, 2013

My Paper Pumpkin and Beyond

Haven't joined My Paper Pumpkin yet?  Why Not!  Every month you will get a kit of stamps, ink, paper, and embellishments to make a project. My Paper Pumpkin is only $20 a month (including shipping). And even better, if you sign up before August 31st, the first 2 months are only $10 (just use promo code pumpkin deal). Go to https://mypaperpumpkin.com?demoid=2038542 to learn more and sign up!

 Here is the card made as the kit instructions say to.


Here I stepped up my kit with a few things I had laying around my craft room.


Supplies:
Stamp Set(s) - My Paper Pumpkin Kit
Card Stock - My Paper Pumpkin Kit, Whisper White
Ink - My Paper Pumpkin Kit, Cherry Cobbler
Accessories - My Paper Pumpkin Kit, Daffodil Delight Seam Binding, Artisan Label Punch, Small Heart Punch, Dimensionals, Hang Up Cute Clips

Thursday, August 15, 2013

Butterfly Grunge

Remember how I said I LOVED Gorgeous Grunge?  Check out this card using it.  This was demonstrated at Convention and I thought it was absolutely BEAUTIFUL!

Tips:
The Bermuda Bay Grunge is stamped off first and then stamped onto the card base but the words are not.


I did not stamp off any of the grunge on the butterfly.  The edges are the direct to paper technique where you rub the butterfly directly on the Crushed Curry Ink Pad.


Supplies:
Stamp Set(s) - Gorgeous Grunge, Sweet Essentials
Card Stock - Whisper White, Bermuda Bay
Ink - Bermuda Bay, Crushed Curry, Tangerine Tango
Accessories - Big Shot, Bigz Beautiful Butterflies, Glue Dots, Designer Vintage Faceted Buttons, 1/8" Silver Ribbon

Tuesday, August 13, 2013

Envelope Pocket Card

This card was demonstrated at one of the sessions at Convention.  It was such a great idea I had to make it for myself.


The envelope creates cute pockets for messages and more!


Here I used a glue dot to adhere a gift card to a tag.  That way when they pull the tag the get the surprise of a gift card!


So Awesome Right?  This card uses the Envelope Liner Framelits, let me show you how.

You are going to use the middle liner and Designer Paper of your choice for the small envelope on the front of the card.  Follow the template below to prep the liner.


Once you have done so, your paper will look like this.


I folded down the flap and adhered it with just a little bit of adhesive in the middle.  I didn't completely glue it down so to give the look of a flap that opens.  I then cut a banner, stamped the words I wanted and adhered it to the flap.


The card base I ran through with an Embossing Folder to give it some texture.  It is your choice if you want it to be a full card or just a front.


On the back of your mini envelope, put Dimensionals on three sides, leaving the top open.  This will give you your envelope pocket.  Note:  Make sure to put the Dimensionals all the way to the side or use the edges of the Dimensionals or your Gift Card wont fit.  (This picture, when I put it all together, the g.c. didn't fit and I had to redo it, oops!)


Adhere the envelope to the front of the card.  And then add any tags you want!


Of course you should use the largest Framelit to line your envelope to match!


Here is the same card with different Designer Paper for a birthday card.


Supplies For Christmas Card:
Stamp Set(s) - More Merry Messages, Tag It
Card Stock - Seasons of Style DS, Whisper White, Old Olive, Crumb Cake, Cherry Cobbler
Ink - Cherry Cobbler
Accessories - Big Shot, Envelope Liner Framelit Dies, Cheveron Embossing Folder, Chalk Talk Framelits, Dimensionals, Cherry Cobbler Seam Binding

Supplies For Birthday Card:
Stamp Set(s) - Best of Birthdays
Card Stock - Epic Day DS, Whisper White, Daffodil Delight
Ink - Tangerine Tango
Accessories - Big Shot, Envelope Liner Framelit Dies, Cheveron Embossing Folder, Dimensionals