Showing posts with label Tutorial. Show all posts

Saturday, July 19, 2014

Convention 2014 - Water Bottle Tag Roommate Gift

As I am from southern Florida, Salt Lake City is very dry to my body and am constantly having to hydrate and lotion up.  If I am not constantly drinking water and applying chapstick I am hurting!  I found something like this on Pinterest.  I thought this would be perfect!  The water bottle I found at target.  It is perfect as it opens at top to drink but opens lower for cleaning and adding ice.


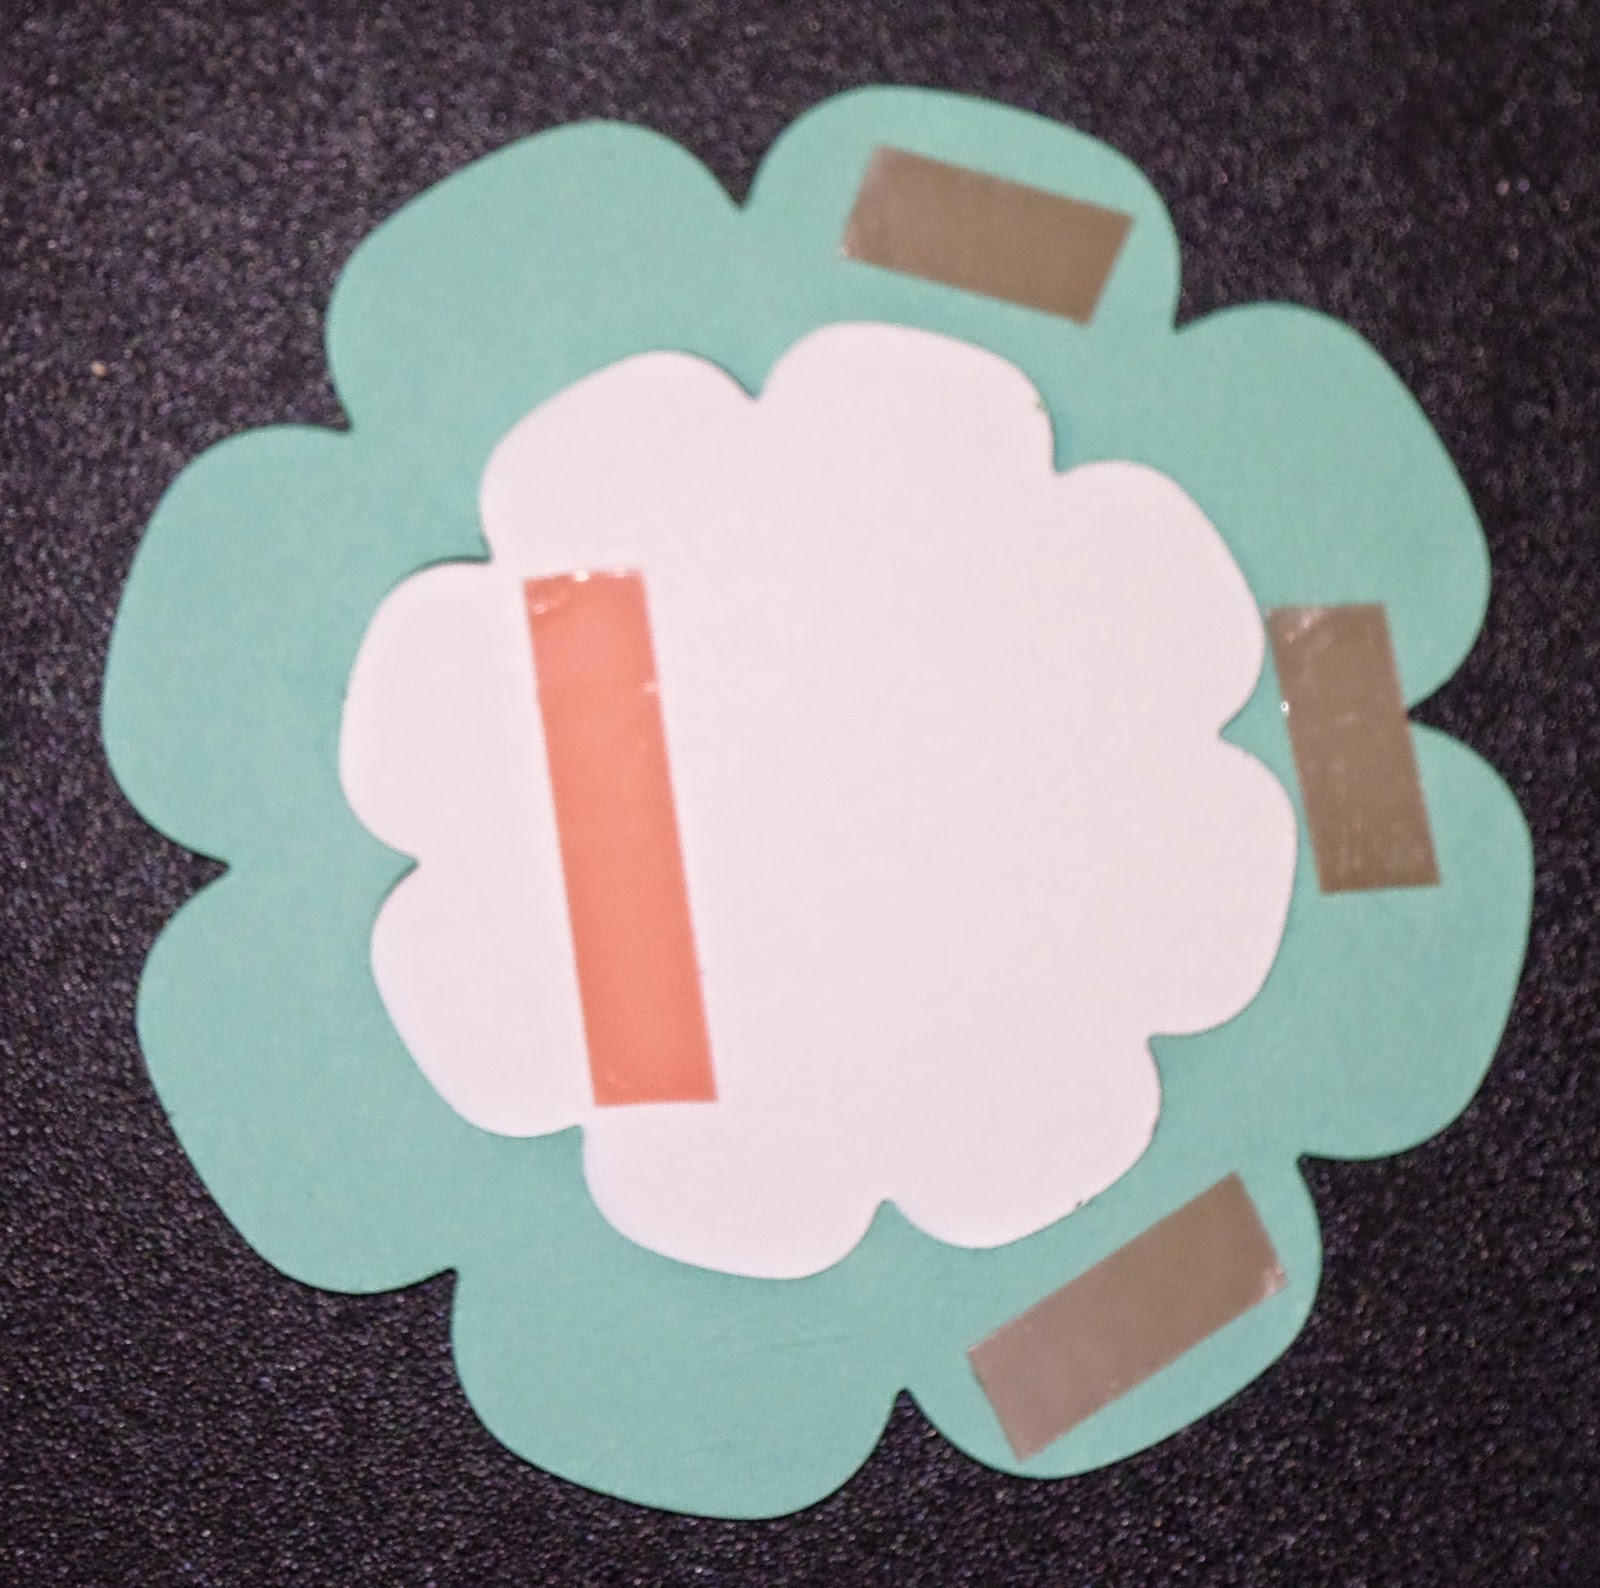
The tag is 4" x 10" (or however long your bottle is) and scored at 2-1/2".  The designer paper is 3" x 4".  Adhere it with Sticky Strip on three sides to make a pocket.  Find the circle punch that goes over the bottle top, in my case it was the 1-3/8" Circle Punch.  Then decorate however you would like.  In the pocket I put a Starbucks gift card and a Crystal Light single serving packet.


The flower is Blossom Punch, 1-3/4" Scallop Circle Punch, and Boho Blossom Punch.  I crinkled up each one before adhering it with Glue Dots.


Supplies:
Card Stock - Blackberry Bliss, Hello Honey, Moonlight DS Paper Pack
Accessories - Chevron Border Punch, 1-3/4" Scallop Circle Punch, Boho Blossoms Punch, Blossom Punch, Glue Dots, Sticky Strip

Friday, July 18, 2014

Convention 2014 - Envelope Box Roommate Gift

I always give my roommates one of each of the swaps I made.  This year I made this box for them to go in along with a few other goodies I will show you in the next couple of days.


It is super easy to make!  Cut an 11" square.  Score two sides at 3-1/2 and 5-1/2 and the other two sides at 4-1/2 and 6-1/2.  Cut out the little triangles and cut the flaps on the side nearest the long side.  And that's it!  Use Sticky Strip to adhere the box together and the decorate however you would like.


Supplies:
Card Stock - Night if Navy, Retired DS
Accessories - Retire Ribbon, Glue Dots, Sticky Strip, Basic Metal Buttons

Wednesday, July 16, 2014

Convention 2014 - General Swap 1

A couple of my customers did a card like this and I just loved it and had to do for convention!  There are so many dies and framelits that can be used in a layout like this too.


First, fold your card in a tri-fold style.


Die cut your shapes you want to use.  Here I used Floral Frames.  I stamped the smallest with a design from the coordinating set Daydream Medallions.  The largest flower is die cut twice, outside and the center.  The middle size needs to fit inside the large size or this wont work.


I adhered the smallest to the middle.  This is just decoration.


I put the two sizes together and put Sticky Strip on one side of the large and the opposite side of the medium.


To add décor to the card, I stamped two strips with Daydream Medallions.


And adhered them to the outside of the folds.


Adhere the flowers, first the large to one side.  While closed adhere the medium to the other side by placing it in the middle of the large to make sure they are lined up.  This way the medium will slide into the large when it closes and separates when opened!


Supplies:
Stamp Set(s) - Daydream Medallions
Card Stock - Coastal Cabana, Whisper White
Ink - Coastal Cabana, Pool Party, Bermuda Bay, Island Indigo
Accessories - Big Shot, Floral Frames

Tuesday, July 15, 2014

Convention 2014 - Awesome Christmas Cards Swap

I love Christmas time and Christmas cards so I always look for a swap like this to help with great ideas!

I saw something similar to this online and realized how easy it would be to use Work of Art to make a wreath!  so I set to work.  Here is the finished product.


First punch out a 1-3/8" circle from some scrap cardstock.


I adhered it to my base with some removable adhesive.


This is the stamp from the Work of Art set I used.  I also used the new Mossy Meadow as by green.  Love it!


I then began repeatedly stamping the image in a ring.  The circle masks the center.


Here is what it looked like when I was done.


Remove the circle and the glue.


I added Rhinestones that I had colored with the Cherry Cobbler Blendabilities for berries.  They came out great!


I layered it with Cherry Cobbler and Mossy Meadow and added a saying.


I had fun with the bow.  I just looped a piece of 1/8" Silver Ribbon three times back and forth, leaving a long end on each side.  I then tied a small piece around the middle to hold it in place.


Supplies:
Stamp Set(s) - Work of Art, More Merry Messages (retiring in August!)
Card Stock - Mossy Meadow, Cherry Cobbler
Ink - Mossy Meadow, Cherry Cobbler, Whisper White
Accessories - Cherry Cobbler Blendabilities, Basic Rhinestones, 1/8" Silver Ribbon

Tuesday, August 20, 2013

Six-Sided Sunflower

I am excited to show you some fun creations with the Hexigon Punch and Six-Sided Sampler set.  Today's post and the next post show you two ideas that I saw done at convention at the 5 Projects to Increase My Sales class.  So CUTE!

Love this sunflower!


I put 5 hexigons down then stamped my stem.


Then added the last hexigon to hide the top of the stem.


I was excited to see the leaves done!  First stamp and punch a hexigon.


Then, using you snips, cut two lines and it will look like this.  Then take the diamonds as your leaves!


 I love to have a dark card base but then you have to use more cardstock on the inside so you can have your saying and write a message.  Here is another way to do it.  My Whisper White was actually cut to 8" x 5" and folded in half.  Then mount it on a piece of 5-1/2" x 4-1/4" piece of Early Espresso.  Voila! A white inside card that has a dark base!  A little twist and So much fun!


Supplies:
Stamp Set(s) - Six-Sided Sampler, Too Kind
Card Stock - So Saffron, Early Espresso, Whisper White, Soft Suede
Ink - Crushed Curry, Early Espresso, Wild Wasabi
Accessories - Hexigon Punch, Snips, Dimensionals

Tuesday, August 13, 2013

Envelope Pocket Card

This card was demonstrated at one of the sessions at Convention.  It was such a great idea I had to make it for myself.


The envelope creates cute pockets for messages and more!


Here I used a glue dot to adhere a gift card to a tag.  That way when they pull the tag the get the surprise of a gift card!


So Awesome Right?  This card uses the Envelope Liner Framelits, let me show you how.

You are going to use the middle liner and Designer Paper of your choice for the small envelope on the front of the card.  Follow the template below to prep the liner.


Once you have done so, your paper will look like this.


I folded down the flap and adhered it with just a little bit of adhesive in the middle.  I didn't completely glue it down so to give the look of a flap that opens.  I then cut a banner, stamped the words I wanted and adhered it to the flap.


The card base I ran through with an Embossing Folder to give it some texture.  It is your choice if you want it to be a full card or just a front.


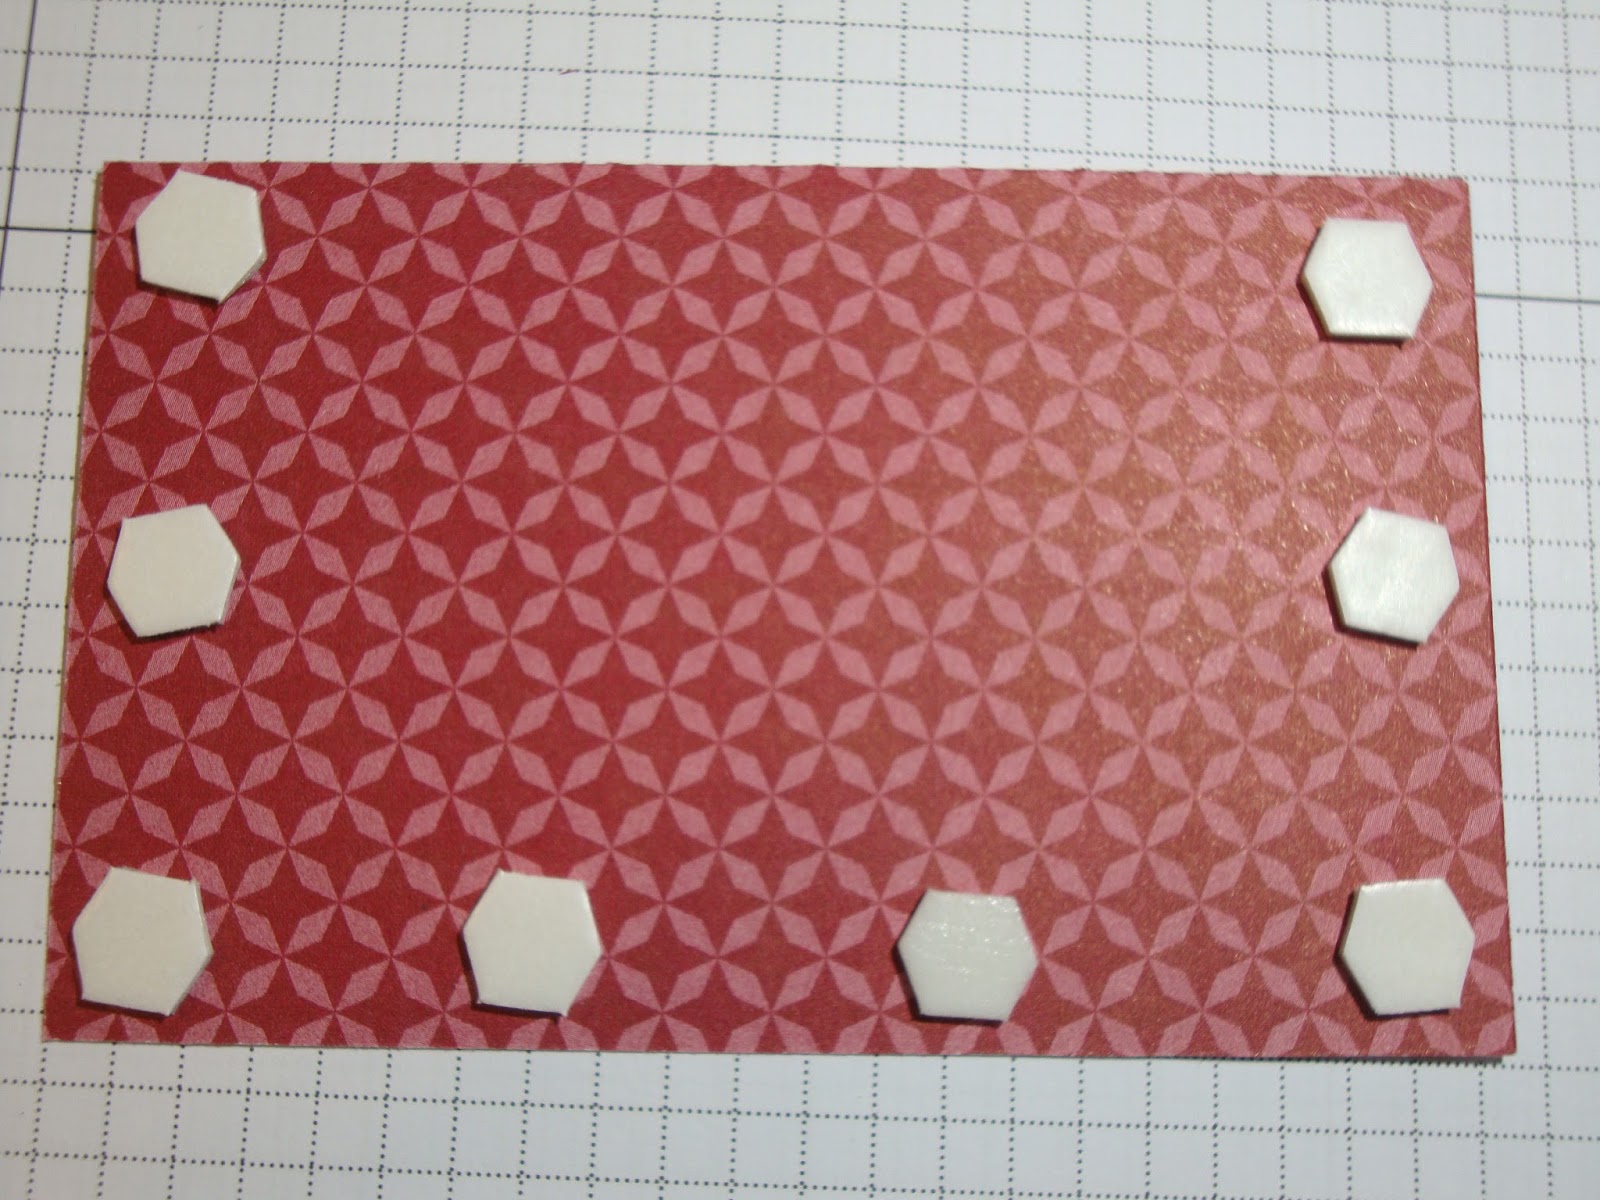
On the back of your mini envelope, put Dimensionals on three sides, leaving the top open.  This will give you your envelope pocket.  Note:  Make sure to put the Dimensionals all the way to the side or use the edges of the Dimensionals or your Gift Card wont fit.  (This picture, when I put it all together, the g.c. didn't fit and I had to redo it, oops!)


Adhere the envelope to the front of the card.  And then add any tags you want!


Of course you should use the largest Framelit to line your envelope to match!


Here is the same card with different Designer Paper for a birthday card.


Supplies For Christmas Card:
Stamp Set(s) - More Merry Messages, Tag It
Card Stock - Seasons of Style DS, Whisper White, Old Olive, Crumb Cake, Cherry Cobbler
Ink - Cherry Cobbler
Accessories - Big Shot, Envelope Liner Framelit Dies, Cheveron Embossing Folder, Chalk Talk Framelits, Dimensionals, Cherry Cobbler Seam Binding

Supplies For Birthday Card:
Stamp Set(s) - Best of Birthdays
Card Stock - Epic Day DS, Whisper White, Daffodil Delight
Ink - Tangerine Tango
Accessories - Big Shot, Envelope Liner Framelit Dies, Cheveron Embossing Folder, Dimensionals

Saturday, August 10, 2013

Washi Tape - Part 3

Our final Washi Tape effect is making your own "Washi Tape".  As you can see in my card, I made Washi Tape out of the Quaterfancy DS.  You can use any paper but it works best with Designer Series Paper.


First cut a strip of DS.  It can be as long as you want but it should not be wider than the Scotch Tape you are going to use.


Cover the side you want to show with Scotch Tape.


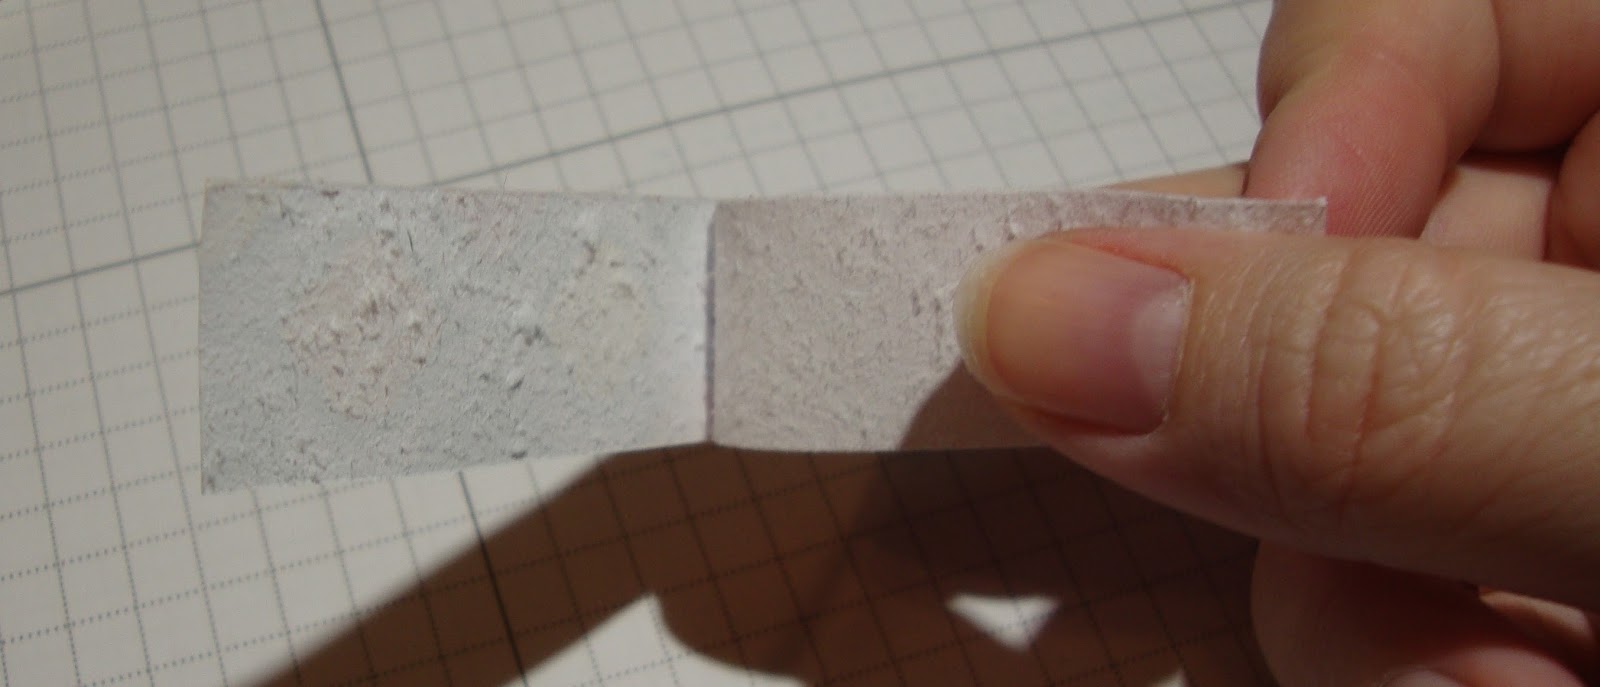
Using your Bone Folder, rub over the strip of paper on both sides to break down the fiber.  This happens very quickly.


Pull off the layer that does not have the Scotch Tape on it.


In the white side, rub a damp sponge so that all the white paper comes off.


See how it just rubs off leaving the pattern behind?


When your done you homemade Washi Tape is clear except for your design!  Unlike real Washi Tape, it is not self-adhesive so use adhesive to adhere it to the card.


Supplies:
Stamp Set(s) - Sassy Salutations
Card Stock - Quaterfancy DS, Whisper White, Pumpkin Pie
Ink - Island Indigo
Accessories - Itty Bitty Punch Pack, Basic Rhinestones, Bone Folder, Sponge, Glue Dots, scotch tape