Showing posts with label Gift. Show all posts

Monday, July 21, 2014

Convention 2014 - Clip Roommate Gift

At convention we are give a booklet to take notes that also has a general schedule, map and such.  This little gift helps hold where you are currently working!  Super Simple and fun!


Supplies:
Card Stock - Blackberry Bliss, Moonlight DS Paper Pack
Ink - Daffodil Delight Blendabilities
Accessories - jumbo paper clip, Basic Rhinestones, Sticky Strip, Dimensionals, 1-1/4" Scallop Circle Punch, 1-3/8" Scallop Circle Punch

Sunday, July 20, 2014

Convention 2014 - Bag Tag Roommate Gift

At convention, everyone gets the same bag so it is important to identify which is yours.  I made these this year to put on our bags.

The base is a wooden tag I found at the craft store.  I covered it with Moonlight DS Paper Pack, added our names with Little Letter Thinlits, and decorated with trinkets I had around my desk!


Supplies:
Stamp Set(s) - Honeycomb Hello
Card Stock - Moonlight DS Paper Pack, Hello Honey, Blackberry Bliss, Mossy Meadow
Ink - Basic Black
Accessories - Baked Brown Sugar Thick Bakers Twine, 1/4" Circle Punch, Big Shot, Little Letter Thinlits, Sticky Strip, Multi-Purpose Glue, random trinkets, wood tag

Saturday, July 19, 2014

Convention 2014 - Water Bottle Tag Roommate Gift

As I am from southern Florida, Salt Lake City is very dry to my body and am constantly having to hydrate and lotion up.  If I am not constantly drinking water and applying chapstick I am hurting!  I found something like this on Pinterest.  I thought this would be perfect!  The water bottle I found at target.  It is perfect as it opens at top to drink but opens lower for cleaning and adding ice.


The tag is 4" x 10" (or however long your bottle is) and scored at 2-1/2".  The designer paper is 3" x 4".  Adhere it with Sticky Strip on three sides to make a pocket.  Find the circle punch that goes over the bottle top, in my case it was the 1-3/8" Circle Punch.  Then decorate however you would like.  In the pocket I put a Starbucks gift card and a Crystal Light single serving packet.


The flower is Blossom Punch, 1-3/4" Scallop Circle Punch, and Boho Blossom Punch.  I crinkled up each one before adhering it with Glue Dots.


Supplies:
Card Stock - Blackberry Bliss, Hello Honey, Moonlight DS Paper Pack
Accessories - Chevron Border Punch, 1-3/4" Scallop Circle Punch, Boho Blossoms Punch, Blossom Punch, Glue Dots, Sticky Strip

Friday, July 18, 2014

Convention 2014 - Envelope Box Roommate Gift

I always give my roommates one of each of the swaps I made.  This year I made this box for them to go in along with a few other goodies I will show you in the next couple of days.


It is super easy to make!  Cut an 11" square.  Score two sides at 3-1/2 and 5-1/2 and the other two sides at 4-1/2 and 6-1/2.  Cut out the little triangles and cut the flaps on the side nearest the long side.  And that's it!  Use Sticky Strip to adhere the box together and the decorate however you would like.


Supplies:
Card Stock - Night if Navy, Retired DS
Accessories - Retire Ribbon, Glue Dots, Sticky Strip, Basic Metal Buttons

Monday, May 20, 2013

Flowers

At my Retirement Open House, I took the opportunity to show off the Builder brads one more time.  I just love them!  This flower is a super simple accessory to add to any card, scrapbook page, or gift.  You can even give it more life by using your bone folder to break down the fibers of the paper on each petal.


Supplies:
Card Stock - Bashful Blue, Regal Rose
Accessories - Designer Builder Brads, Itty Bitty Punch Pack, Blossom Punch, Paper Piercer, Glue Dots

Tuesday, April 9, 2013

Happy Birthday Gift To Me!

I wanted to share the beautiful gifts I got from my Downline Kathy Johnson.  It was such a sweet and thoughtful gift!  The bag held my favorite, TEA!  and fun tea PJs to wear while drinking my tea.  The cookies were for my husband but they were so good I made him share ;)  It was MY birthday after all.


Monday, January 28, 2013

The Cookie Monster

Check out the CUTE gift I got from my downline, Carol Johnson.  What a cute punch character and a cute way to use it!


Thursday, November 1, 2012

Christmas Gift Card Holder

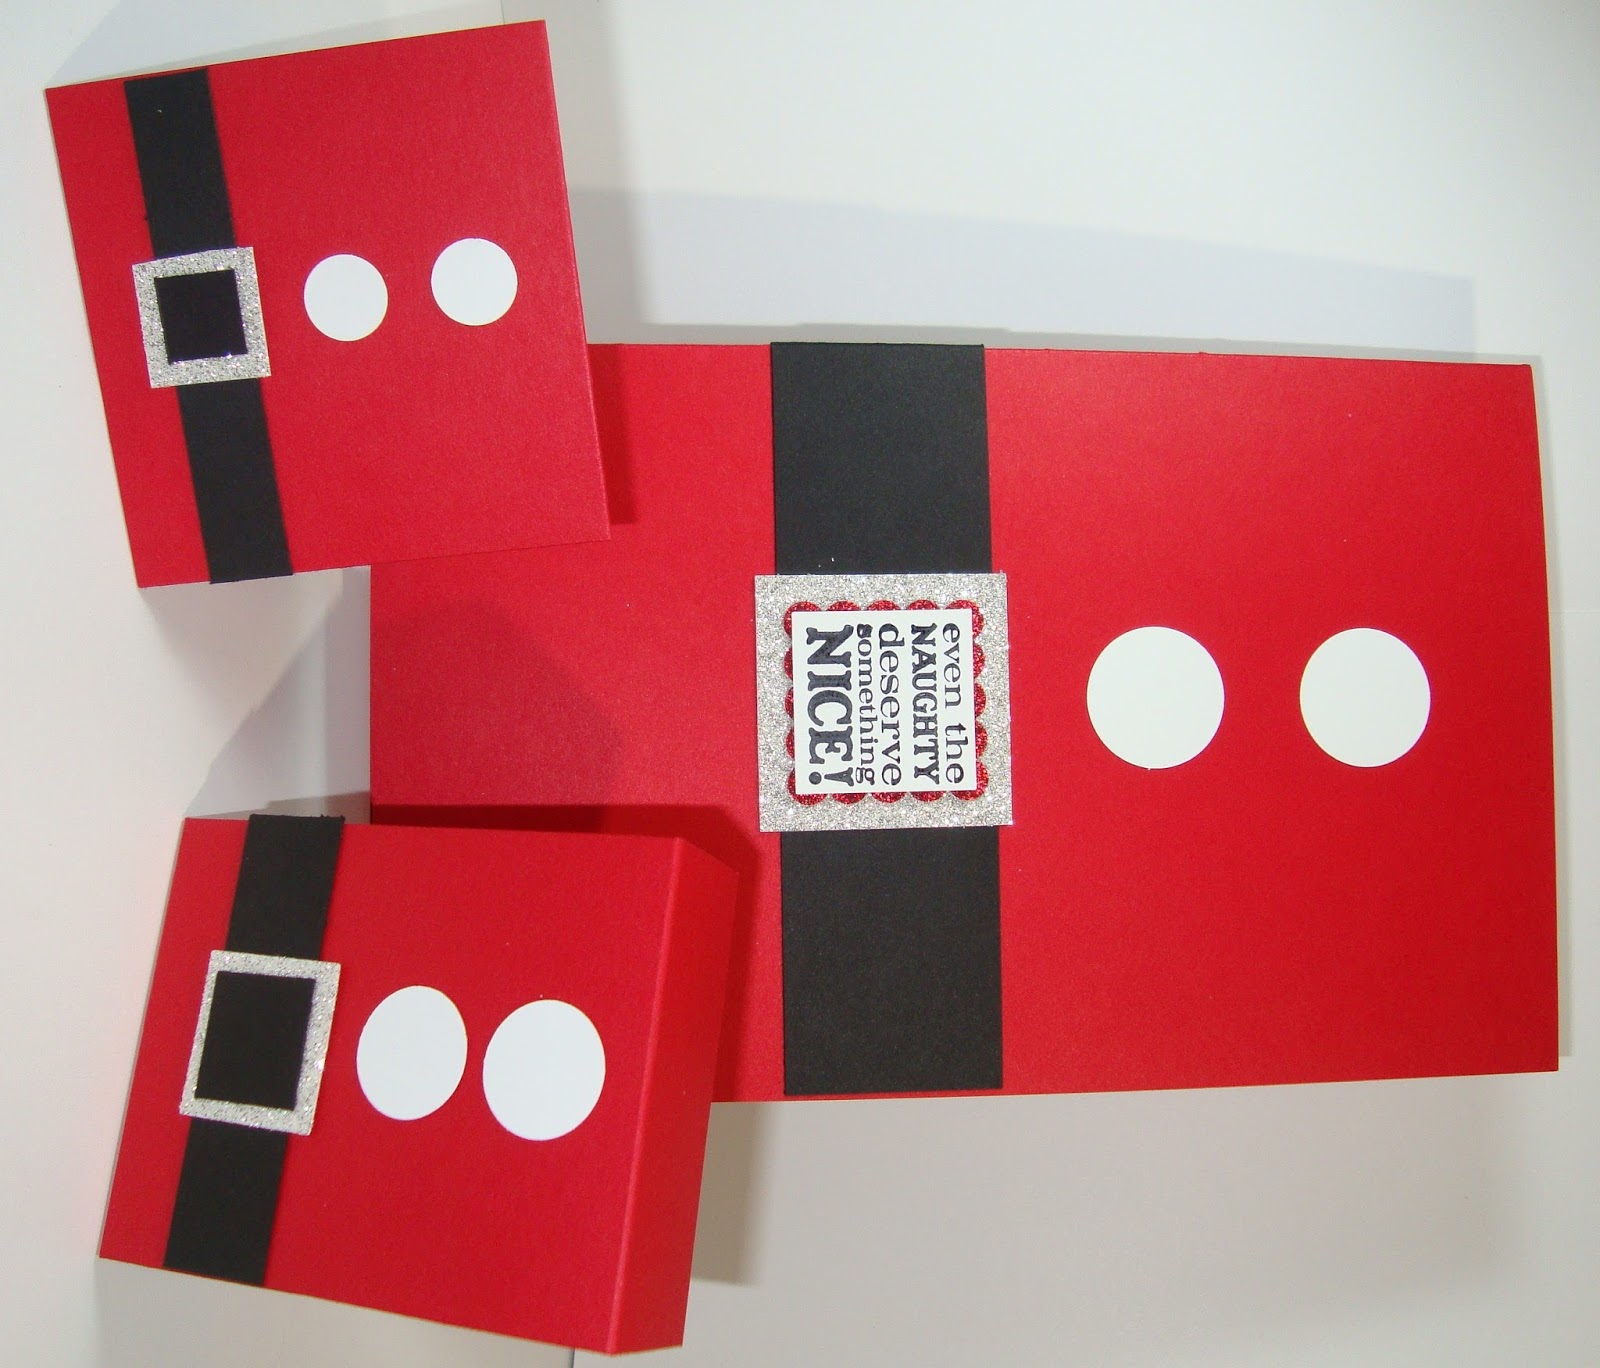
If you are anything like me, you know you can do better that those gift card sleeves most gift cards come in.  Here is a cute easy Gift Card Holder.  I made a bunch in one sitting so that I can use for any gift card this year.
 

Cut a strip of Cherry Cobbler to 4-1/4" x 11".  Score it on your Simply Scored at 3", 5-1/2", and 8".  The Simply Scored is great if you are mass producing like I did.  Use the markers and you can just fly through them!


Accordion fold the card stock on the score lines.  Sticky Strip the middle section on 3 sides.  Do Not put Sticky Strip on the fold side.


It will look like this when glued together.


Using the Word Window Punch, punch across the middle fold.


Punch a tab using the 1-1/4" Circle Punch in the middle.


So when you are done it will look like this inside.


Create a belly band to keep the gift card from falling out.  The belly band will be 1-1/2" x 7"
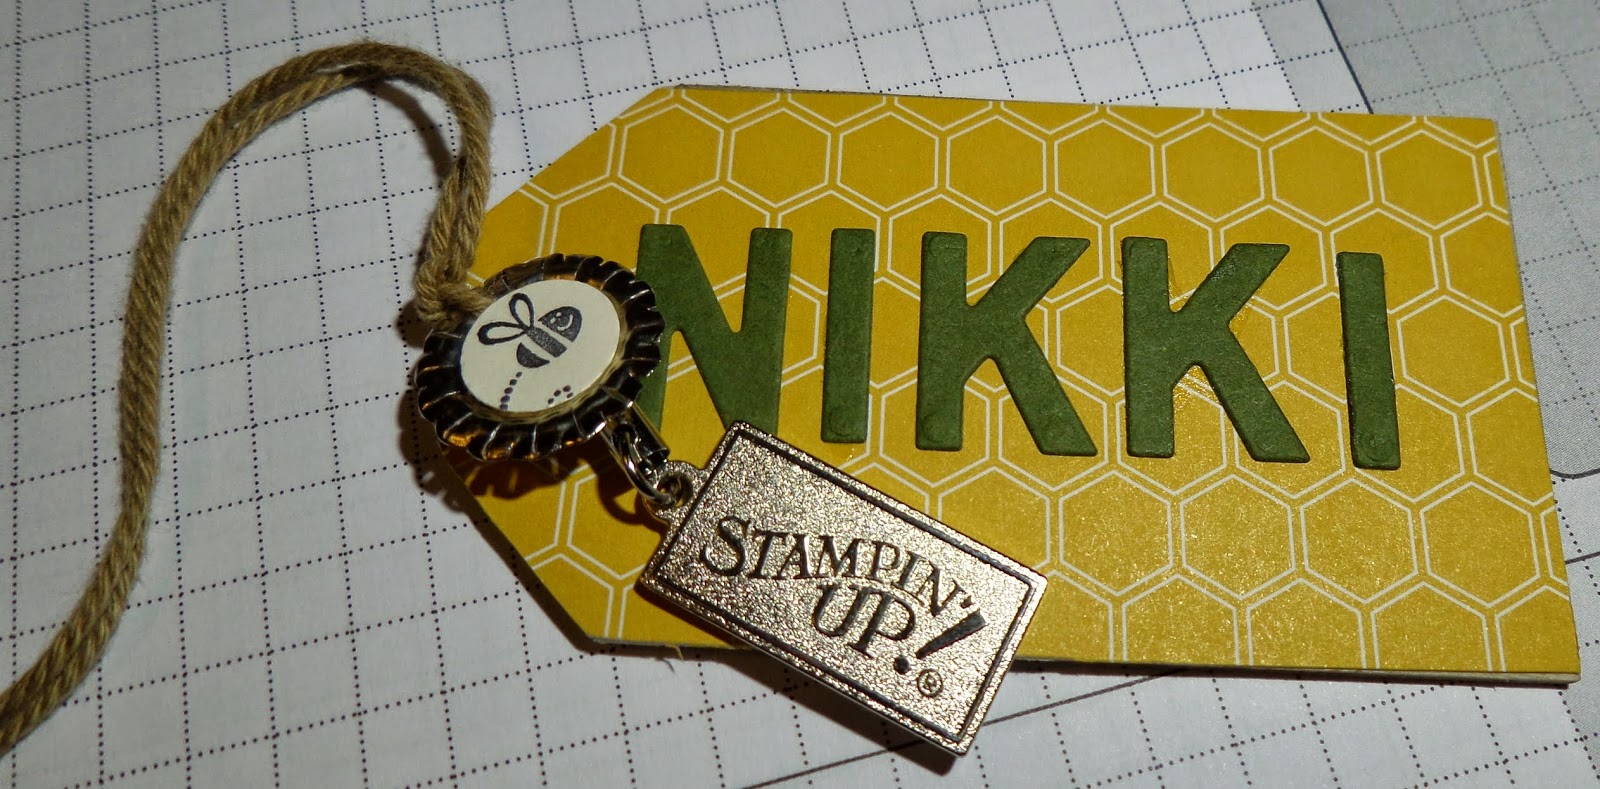
Decorate and you are done!

Supplies:
Stamp Set(s) - No Peeking
Card Stock - Cherry Cobbler, Very Vanilla, Gumball Green, Be of Good Cheer DS
Ink - Early Espresso
Accessories - 3/8" Stitched Gumball Green Ribbon, Simply Scored, Sticky Strip, Word Window Punch, 1-1/4" Circle Punch, Wide Oval Punch

Thursday, October 25, 2012

Santa Gift Set

 I was given this cute set at a demonstrator run make-n-take event.  I was in love with it on first sight!  I replicated it at home and it makes a great gift set!  The three items are a notebook cover, anti-bacterial gift holder, and a 3" x 3" card.


When you open the notbook cover, you see the decorated top as well!  Here are some guidelines for you so you can make this.  I am giving it as a Thanksgiving gift to track notes and gifts!

Cut Real Red cardstock to 8-1/2” x 10-3/4” and score it widthwise at 5-1/2” and 5-1/4” for the cover
Cut Basic Black cardstock to 10-3/4 x 1-1/2 and score it widthwise at 5-1/2” and 5-1/4” for the belt
Cut Candlelight Christmas DS to 5” x 2-1/4” and score it lengthwise at 1” and 1-1/4” for the notebook top

The Anti-bacterial Gift Holder looks complicated but is quite easy.  Here are some guidelines.  This makes great office and neighbor gifts!

Cut Real Red cardstock to 12” x 2-3/4” and score widthwise at 3”, 4”, 7-1/2”, 8-1/2”, 10-3/4”, and 11-5/8”

In the second to last section you scored (the last section will be a small ¼” strip, punch a hole in the middle with the ¾” Circle Punch or cut a square out.  This will be where the anti-bacterial top will come through.

 
Put adhesive on the outside of the end ¼” strip and adhere it to the back so that the cardstock makes a square.


The buckle will hang over the edge.


Adhere one side of the Velcro behind the buckle.  Place the opposite side of the Velcro on top of the first side.  Close the lid so it creates a square edge on top and push the Velcro in place.  There will be Real Red showing on the bottom below the belt.


Supplies:
Stamp Set(s) - Tags Til Christmas
Card Stock - Real Red, Basic Black, Whisper White, Silver Glitter, Red Glitter, Candlelight Christmas DS
Ink - Basic Black
Accessories - 1” Square Punch, Simply Scored, Scallop Square Punch, 1-1/4" Square Punch, 1” Circle Punch, ¾” Circle Punch, ½” Circle Punch, Velcro, 5” x 7” notepad, Dimensionals, pocket anti-bacterial

Thursday, September 27, 2012

Halloween Candy Card

I was going through my over full Google Reader the other day and saw this card.  I was immediately in love and knew I had to make this for myself!  Absolutely fantastic!  And there is nothing better than a homemade card, except a homemade card with CANDY in it!


The envelope inside is created with DS paper and the Simply Scoring Tool with the Diagonal Plate.  Mary Fish was AMAZING enough to put together all the dimensions necessary to make your own envelopes!  The envelope I used here was a 4 x 4 and then I cut off the flap.  You can make a 5 x 5 to put the whole card in!


After my helper finished playing with the wrappers of the candy I had to "taste test", she passed out on me!


Supplies:
Stamp Set(s) - Google Ghouls, Teeny Tiny Wishes
Card Stock - Very Vanilla, Basic Black, Basic Gray, Howlstooth and Scaringbone DS
Ink - StazOn Black, Sahara Sand
Accessories - Pennant Punch, Designer Buttons, Googly Eyes, Linen Thread, Glue Dots, Simply Scored, Diagonal Plate, Multipurpose Adhesive, Blender Pen

Thursday, August 2, 2012

Make-N-Takes from the Hilton Event

This weekend I sat down and finished my swaps from convention. I did better this year of getting most things done but I did still run out of time. There was also a couple things I didn't do to make it easier to travel. Make-n-takes are my favorite because we get to play with products we may not have!

Along with convention, I also attended an event hosted by Lisa Rodriguez at the Hilton on Tuesday. She had a swap you could participate in, lunch, lots of adorable gifts, and make-n-takes! We had so much fun at this event and it was such a gray way to kick off convention week!

Check out the great make-n-takes we got to do!


this was a bag topper and the bag had graham crackers, Hersey's chocolate, and a snowman marshmallow but they made the trip home in my belly :D

Friday, April 6, 2012

Easter Chick

My last Easter project this year, an ADORABLE chick!  All the So Saffron paper is sponged with More Mustard on the edges to give it some accent color.  The staple that holds the bag shut and the head topper in place is hidden under the nose.  The wings are held onto the bag with Glue Dots.  I just LOVE him!  It helps that his belly is full of yummy chocolate :)  And shopping for the candy I discovered that they make Reese Cup mini eggs!  The BEST!!!  You will notice there are none of those in that bag, hee hee.


Supplies:
Card Stock - So Saffron, Pumpkin Pie, Whisper White, Basic Black
Ink - More Mustard
Accessories - 1-1/4" Square Punch, Scallop Circle Punch, 1/2" Circle Punch, Build A Blossom Punch, Sponge Daubers, Big Shot, Top Note Die, Glue Dots, Small Cellophane Bag

Wednesday, April 4, 2012

Candy Carrot Fun

Here is another great treat for the Easter basket. I think this little Candy Carrot is my favorite and very simple. 

And here is how:  After getting two Petal Cones cut out with the die, use Sticky Strip to adhere them together.  In the top, punch two holes for the Satin Ribbon to go through.  Fill with candy and then seal with a bow.  Tie the Taffeta Ribbon in a knot around the bow.  Sponge the edges of the label with Pumpkin Pie ink.  Stamp Happy Easter on it.  Roll the edges with your fingers and adhere to the carrot with glue dots.  Accent the ends with Basic Pearls.


Supplies:
Stamp Set(s) - Teeny Tiny Wishes
Card Stock - Pumpkin Pie
Ink - Basic Black, Pumpkin Pie
Accessories - Big Shot, Petal Cone Die, 5/8" Old Olive Satin Ribbon, 1/8" Old Olive Taffeta Ribbon, Basic Pearls, Sponge Dauber, Crop-a-dile, Sticky Strip, Glue Dots

Friday, March 30, 2012

Easter Candy Fun

Easter is just around the corner!  Have you started to think about those Easter baskets?  Here is a cute idea. This is Very simple and great for those last minute gifts.  The label is created and colored and then attached to the top of a 1" x 8" Cello bag full of Easter colored M&Ms.


Supplies:
Stamp Set(s) - Everybunny
Card Stock - Whisper White, Soft Suede, Certainly Celery
Ink - StazOn Black; Certainly Celery, Pumpkin Pie, Daffodil Delight markers
Accessories - 1-3/8" Circle Punch, Certainly Celery Seam Binding, 1-3/4" Circle Punch, 2-3/8" Scallop Circle Punch, 1"x8" Cellophane Bag, 1/16" Circle Punch, White Baker's Twine

Sunday, December 18, 2011

Christmas Two Tag Treat Boxes

Here is ave very cute but simple box.  It holds 6 Hersey's Nuggets or anything that size.


Use the Two Tags Die to cut out two of the label tags.  Cut off 3/4" off the bottom of the 2 tags. 


Cut a piece of matching paper to 5" x 2-3/4". Long ways score at 1/2" and 2-1/4". Short ways score at 1-1/8" and 3-7/8". Put the box together by putting adhesive on the outside edges (as shown above).


Adhere the tags to the sides of the box.


Add a ribbon to hold the tags together and decorate the front as you see fit.

Supplies:
Stamp Set(s) - Pines & Poinsettias
Card Stock - Very Vanilla, Wild Wasabi, Holly Berry Bouquet DS
Ink - Wild Wasabi, Chocolate Chip Marker, Real Red Marker, Wild Wasabi Marker
Accessories - Very Vanilla 1/2 Seam Binding, Window Sheets, Dimensionals, Decorative Label Punch, Scallop Oval Punch, Big Shot, Two Tags Bigz, Circles #2 Originals Die, Square Lattice Textured Impressions Embossing Folder, 1-3/8" Circle Punch